

Winter riding doesn’t have to end when snow covers the roads—with an electric bike snow conversion kit, you can transform your regular e-bike into a snow-ready vehicle, ensuring safe and smooth commuting even in cold, snowy conditions. Installing a snow conversion kit may seem daunting at first, but with the right tools, step-by-step instructions, and a little patience, most riders can complete the process at home. This complete guide walks you through every detail of installation and setup, from preparing your e-bike to testing the kit’s performance, so you can enjoy winter riding without hassle.
Before you begin the installation, it’s crucial to gather all necessary tools and check the compatibility of your snow conversion kit with your e-bike. Most kits are designed to fit standard electric bikes, but verifying the wheel size, frame type, and power system beforehand will avoid unnecessary delays. You’ll need basic tools like a wrench set, screwdriver, pliers, and a torque wrench to ensure all components are secured properly. Additionally, make sure the kit includes all essential parts: snow tires, fork adapters (if needed), chain guards, and any wiring or mounting hardware required for integration with your e-bike’s power system.
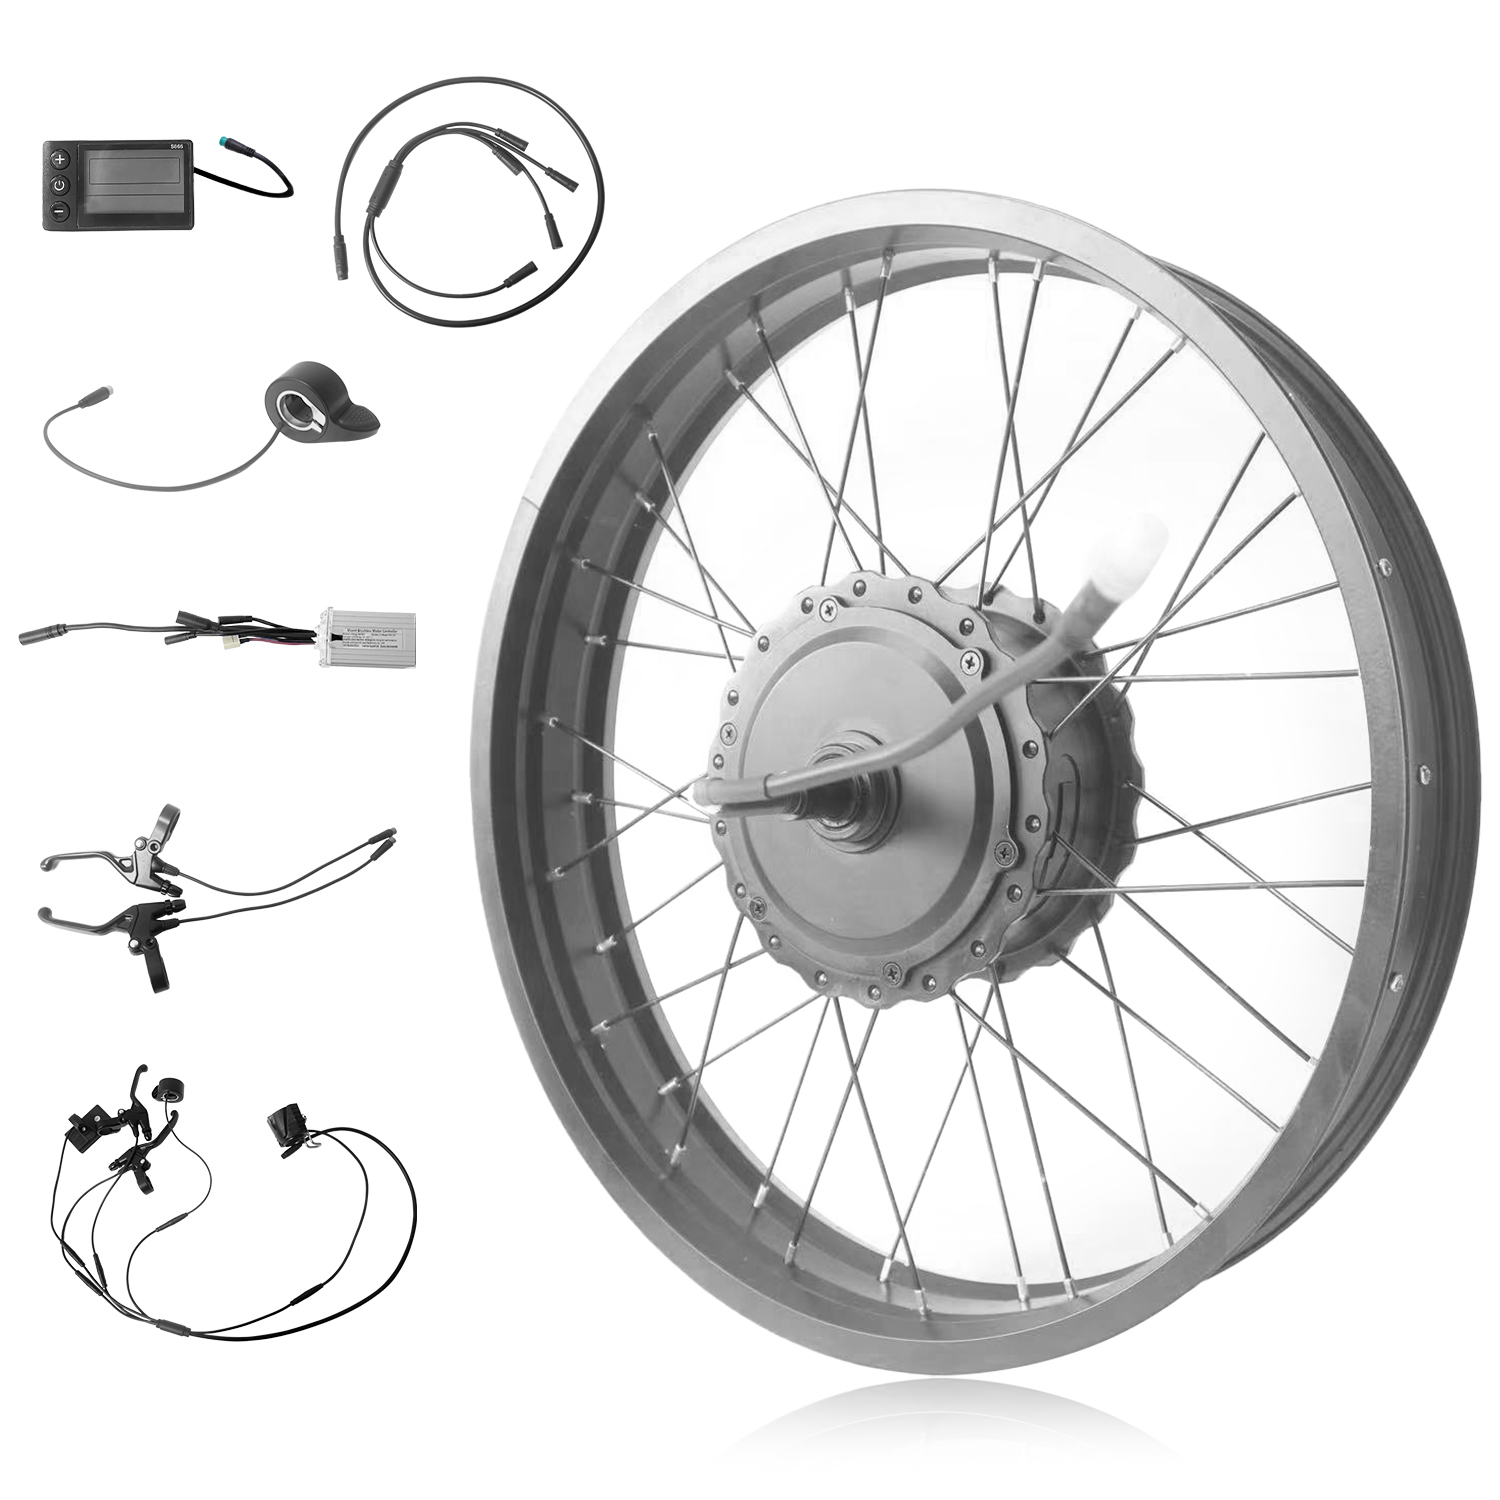
The Electric Bicycle Controller is a key component that connects the snow conversion kit to your e-bike’s power system, so it’s important to handle it with care during installation. Start by turning off your e-bike’s power and disconnecting the battery to prevent electrical shorts. Locate the controller—usually mounted near the battery or under the seat—and identify the wiring harness that connects to the motor. The snow conversion kit will come with an adapter harness that links to the controller, allowing the kit to draw power and sync with your e-bike’s existing system. Ensure all connections are secure and insulated to protect against snow and moisture, which can damage electrical components.
Next, focus on installing the snow tires and adjusting the e-bike’s frame to accommodate the kit. Remove the existing wheels from your e-bike using a wrench, then mount the snow tires—equipped with deep, aggressive treads to enhance traction on snow and ice. If the snow tires are wider than your original tires, you may need to install the included fork adapters to widen the front fork, ensuring the tire has enough clearance and doesn’t rub against the frame. Tighten all wheel bolts to the manufacturer’s recommended torque to prevent the wheels from loosening during riding.
Once the mechanical components are installed, it’s time to set up the Ebike LCD display to sync with the snow conversion kit. The display will show key metrics like speed, battery life, and traction mode—critical for monitoring performance in snowy conditions. Reconnect the e-bike’s battery, then turn on the display. You may need to calibrate the display to recognize the snow conversion kit, following the manufacturer’s instructions to adjust settings like speed limits and power output. This ensures the display accurately reflects the kit’s performance and allows you to make real-time adjustments while riding.
After completing the installation, it’s essential to test the kit’s performance and check for any issues. Start with a slow test ride in a safe, open area with light snow coverage. Pay attention to the bike’s handling, traction, and power delivery—if the tires slip or the power cuts out, check the wheel connections and wiring. The brushless motor controller works in tandem with the snow conversion kit to regulate power flow, ensuring smooth acceleration and stable performance on snowy terrain. If you notice any unusual noises or performance issues, double-check the controller connections and ensure all components are properly secured.
To maintain the snow conversion kit and extend its lifespan, regularly clean the components after each ride to remove snow, ice, and debris. Inspect the wiring and connections for signs of damage or corrosion, and lubricate moving parts like the chain and wheel bearings to prevent rust. Store the kit in a dry, cool place when not in use, and check the tire pressure regularly to ensure optimal traction. By following these installation, setup, and maintenance steps, you can enjoy safe, reliable winter riding with your electric bike snow conversion kit for seasons to come.